
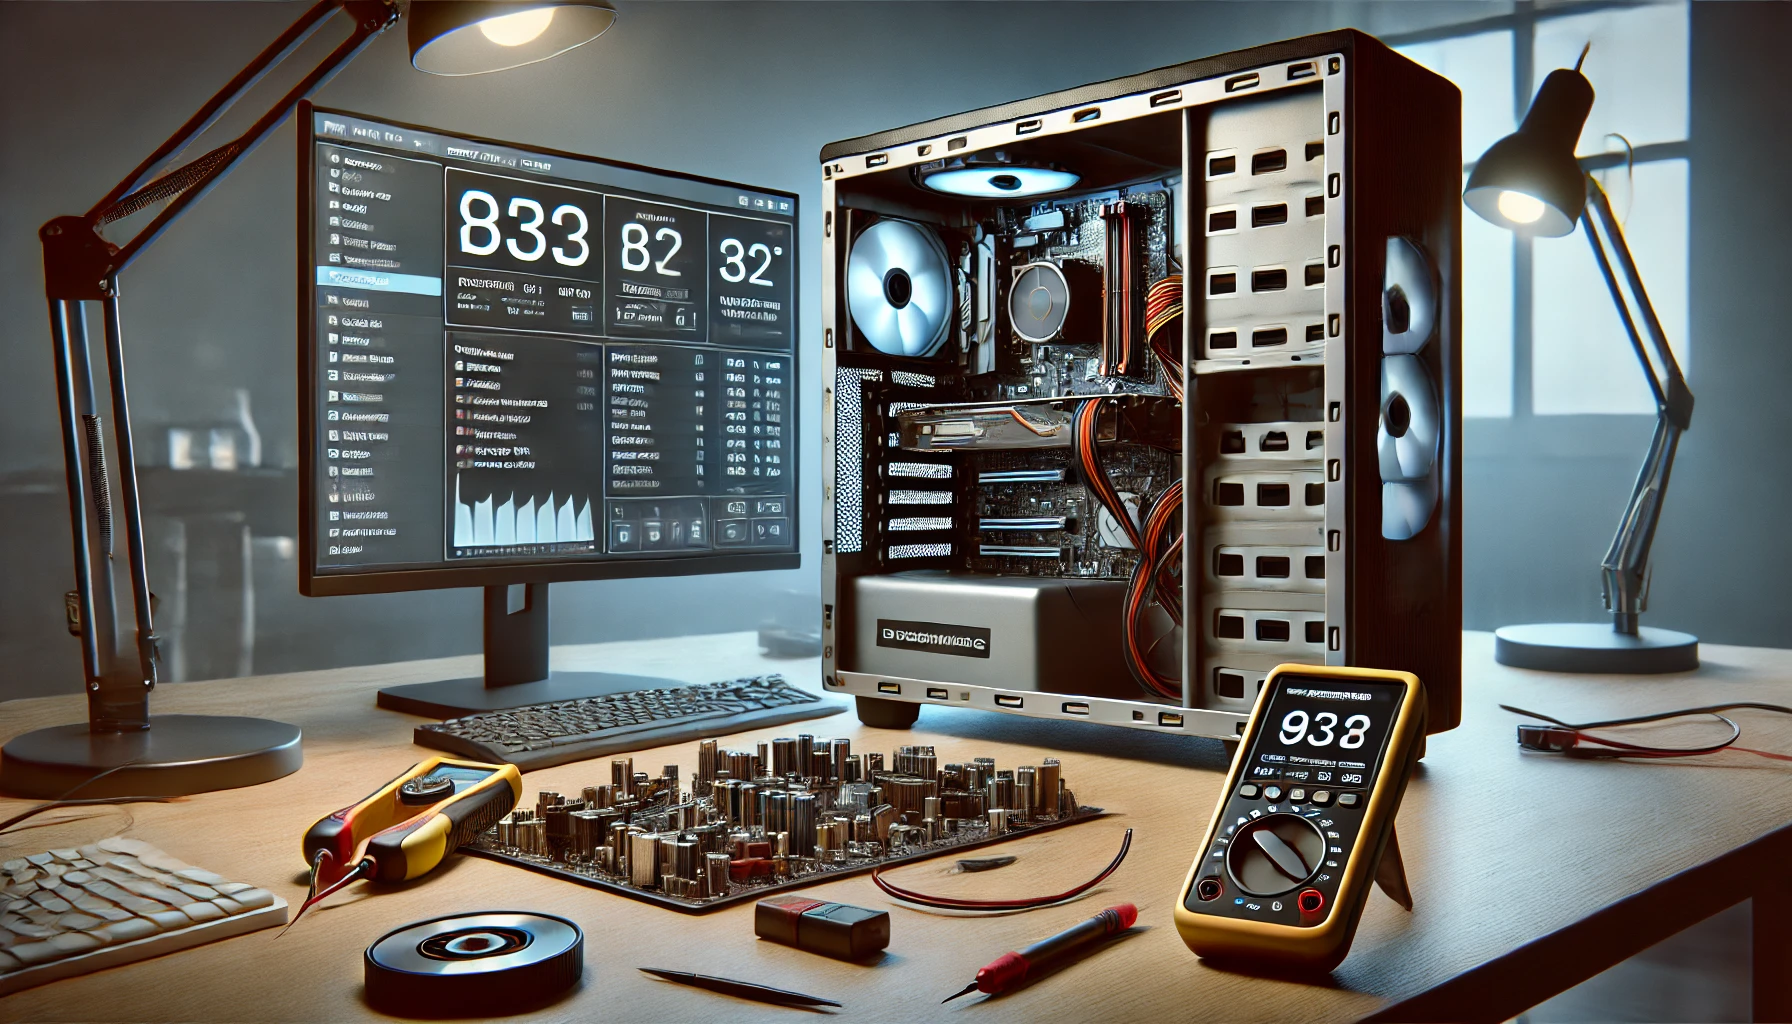
After assembling your PC, testing it is essential to ensure everything is functioning correctly and delivering the expected performance. Proper testing helps identify issues early, such as hardware defects or improper configurations, and guarantees that your system is ready for regular use. Here’s a step-by-step guide with tools and tips for testing your newly built PC.
Start by performing a basic power-on test. Connect the power supply, monitor, and keyboard to your PC, and press the power button. If the system powers on and you see the motherboard logo or BIOS screen on your monitor, your basic setup is likely correct. If nothing happens, double-check connections like the 24-pin motherboard connector, 8-pin CPU connector, and front panel power switch.
Next, access the BIOS/UEFI firmware to check hardware detection. Ensure your CPU, RAM, storage drives, and GPU (if applicable) are recognized. Confirm that the RAM is running at the correct speed (you may need to enable XMP/DOCP profiles for this) and verify the system temperature to ensure proper cooling.
Once the hardware is detected correctly, create a bootable USB drive with a diagnostic tool or operating system installer. Install your preferred OS (e.g., Windows or Linux) and ensure the system boots successfully. After installation, download and install the latest drivers for your motherboard, GPU, and other components from their respective manufacturer websites.
To test system stability and performance, use stress-testing tools. For the CPU, software like Prime95 or Cinebench can push the processor to its limits, testing its thermal performance and stability under heavy load. Monitor temperatures using tools like HWMonitor or Core Temp to ensure your CPU stays within safe operating ranges.
For RAM, tools like MemTest86 can thoroughly test for errors or instability. Boot the system from a USB drive containing MemTest86 and allow it to run multiple passes to ensure your RAM is functioning correctly.
Testing your GPU is crucial for gaming or rendering tasks. Use benchmarking software like 3DMark, FurMark, or Unigine Heaven to evaluate GPU performance and stability. Monitor GPU temperatures during tests to ensure proper cooling and confirm that there is no throttling or overheating.
For storage drives, tools like CrystalDiskMark or AS SSD Benchmark can measure read and write speeds, ensuring your SSD or HDD is performing as expected. Check for errors using diagnostic software from your storage manufacturer.
It’s also essential to test system power stability. Tools like OCCT or AIDA64 include power supply stress tests that simulate high loads, verifying your PSU’s ability to provide stable power to all components. Ensure the PSU isn’t overheating and that there are no unexpected shutdowns.
To test system performance in real-world scenarios, run applications or games you plan to use regularly. Check for smooth performance, quick loading times, and proper operation of peripherals like keyboards, mice, and monitors.
If issues arise during testing, troubleshoot systematically. Recheck connections, update BIOS/UEFI firmware, and consult component manuals or online forums for guidance. Common fixes include reseating components, adjusting BIOS settings, or replacing faulty hardware.
After completing the testing process, document your results for future reference. This record can help you track performance changes over time or address issues if upgrades are made.
By thoroughly testing your PC, you ensure a stable, reliable, and optimized system that meets your expectations. Testing may take time, but it’s a worthwhile investment for peace of mind and long-term performance.