
Why Test Components Before Assembly?
Pre-assembly testing helps to:
- Verify the functionality of each part.
- Detect faulty components early.
- Avoid disassembling the build if problems arise later.
- Simplify troubleshooting by isolating issues.
With the right tools and a methodical approach, you can ensure a smooth assembly process.
What You’ll Need
Before starting, gather the following:
- A power supply unit (PSU): For powering components.
- A monitor or test bench display: To check visuals and output.
- Keyboard and mouse: For BIOS access and testing.
- Anti-static wrist strap or mat: To prevent electrostatic discharge.
- Thermal paste: For CPU testing, if necessary.
Steps to Test PC Components
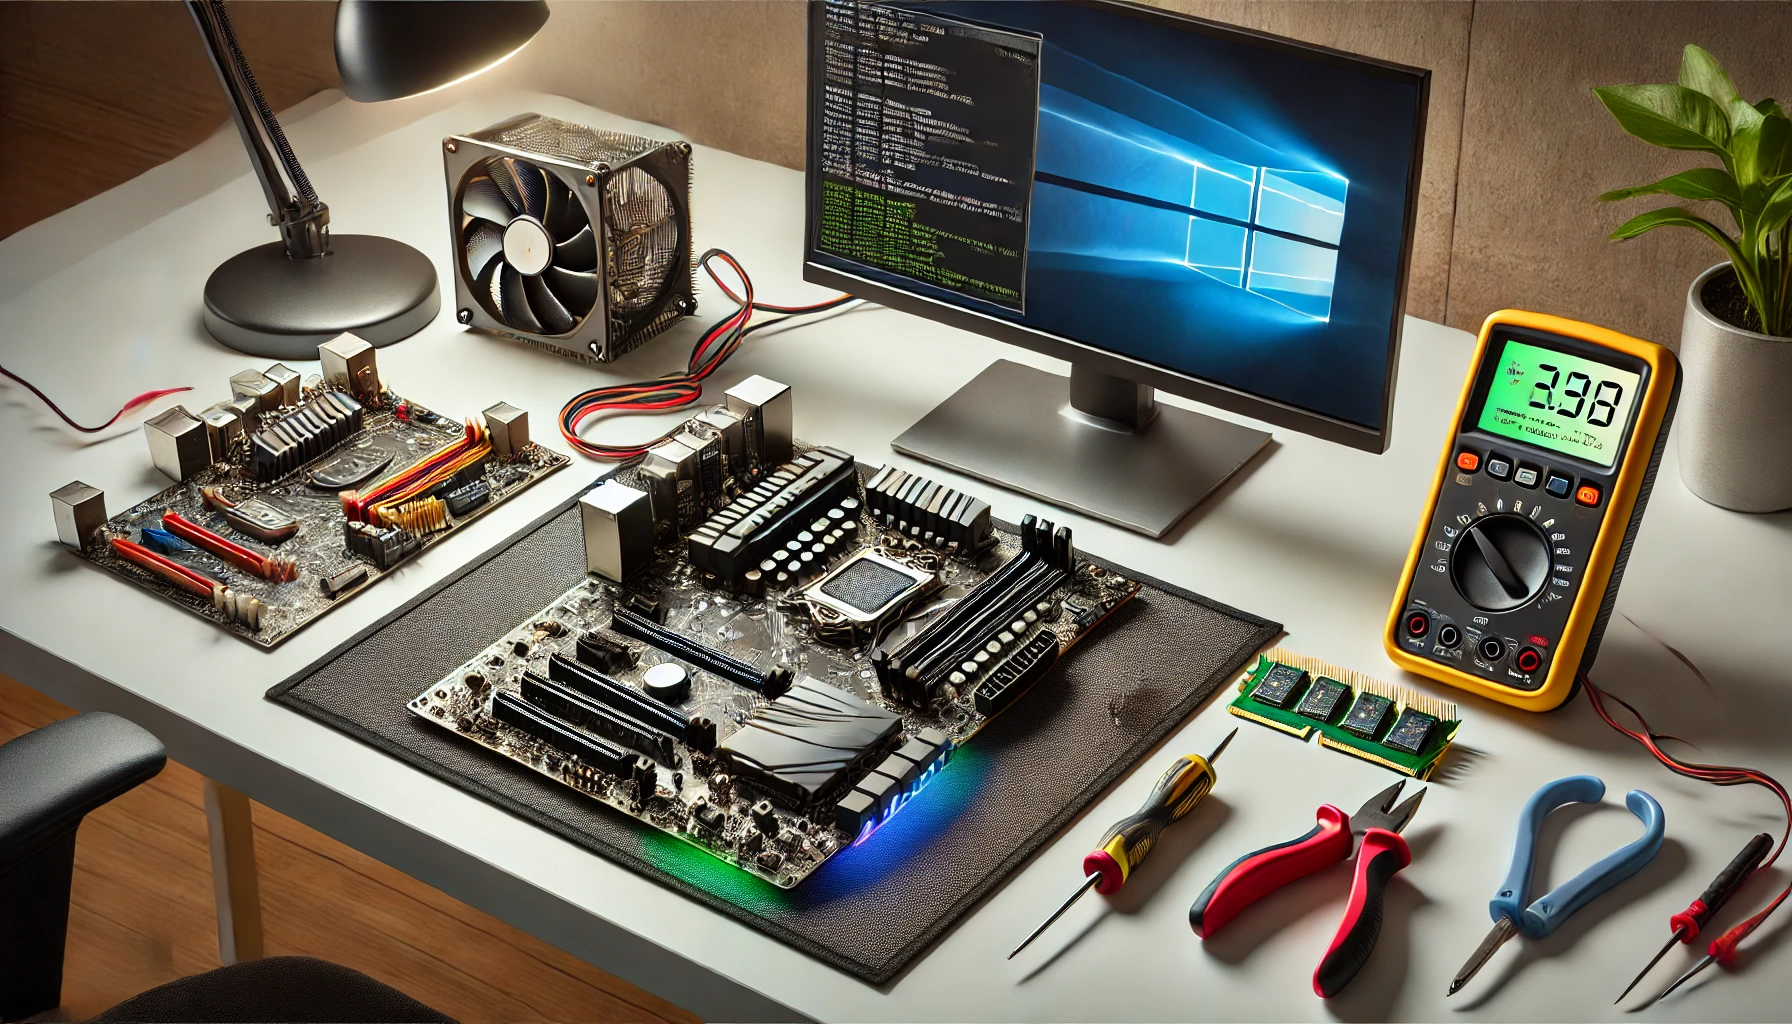
1. Test the Motherboard
The motherboard is the backbone of your system, so testing it first is essential.
How to Test:
- Place the motherboard on an anti-static mat.
- Connect the PSU’s 24-pin and CPU power connectors to the motherboard.
- Plug in a monitor using the motherboard’s video output.
- Install a compatible CPU, a single stick of RAM, and connect a keyboard.
- Power on the board and check for BIOS access.
Look for diagnostic LEDs or beep codes to identify potential issues.
2. Check the CPU
The CPU is the brain of the computer, and any issues with it can cause boot failures.
How to Test:
- Install the CPU on the motherboard. Ensure it is seated properly and locked in place.
- Apply a small amount of thermal paste and attach a compatible cooler.
- Power on the system and check if it posts (displays on the monitor).
If the system fails to boot, double-check the CPU’s compatibility with the motherboard.
3. Test RAM (Memory)
RAM issues are common but easy to diagnose.
How to Test:
- Insert one stick of RAM into the appropriate motherboard slot.
- Power on the system and check for successful boot.
- Swap and test additional RAM sticks individually to ensure all are functional.
Use tools like MemTest86 for more detailed diagnostics after assembly.
4. Inspect and Test Storage Devices
Your storage devices should be tested for defects before installation.
How to Test:
- For SSDs: Use an external SSD enclosure or USB adapter to connect the drive to another computer. Run diagnostic tools like CrystalDiskInfo.
- For HDDs: Check for unusual noises or clicking sounds during operation. Use tools like CHKDSK to test for bad sectors.
5. Check the GPU (Graphics Card)
If your build includes a dedicated GPU, it’s vital to ensure it works properly.
How to Test:
- Install the GPU into the motherboard’s PCIe slot.
- Connect the PSU’s power cables to the GPU (if required).
- Plug in a monitor using the GPU’s output and power on the system.
- Check for display output and stability during operation.
Run GPU stress tests using software like FurMark after assembly.
6. Verify the Power Supply Unit (PSU)
A faulty PSU can damage other components, so thorough testing is essential.
How to Test:
- Use a PSU tester to verify voltage outputs.
- Perform a paperclip test: Short the green and black wires on the 24-pin connector using a paperclip, then connect the PSU to a fan or LED to check if it powers on.
- Avoid using a potentially faulty PSU to power other components.
7. Inspect Peripherals and Accessories
Peripherals like keyboards, mice, and monitors can also impact your build experience.
How to Test:
- Connect each device to another computer or system to ensure functionality.
- For monitors, check all video inputs (HDMI, DisplayPort, etc.) for proper display.
Common Issues and Troubleshooting
No Power or Boot
- Ensure all PSU cables are firmly connected.
- Check the power switch on the PSU.
- Verify that the motherboard’s power button is functional.
No Display
- Confirm that the monitor is connected to the correct video output (GPU or motherboard).
- Reseat the RAM and GPU.
Unusual Beeping or Error Codes
- Refer to the motherboard’s manual for beep code descriptions.