
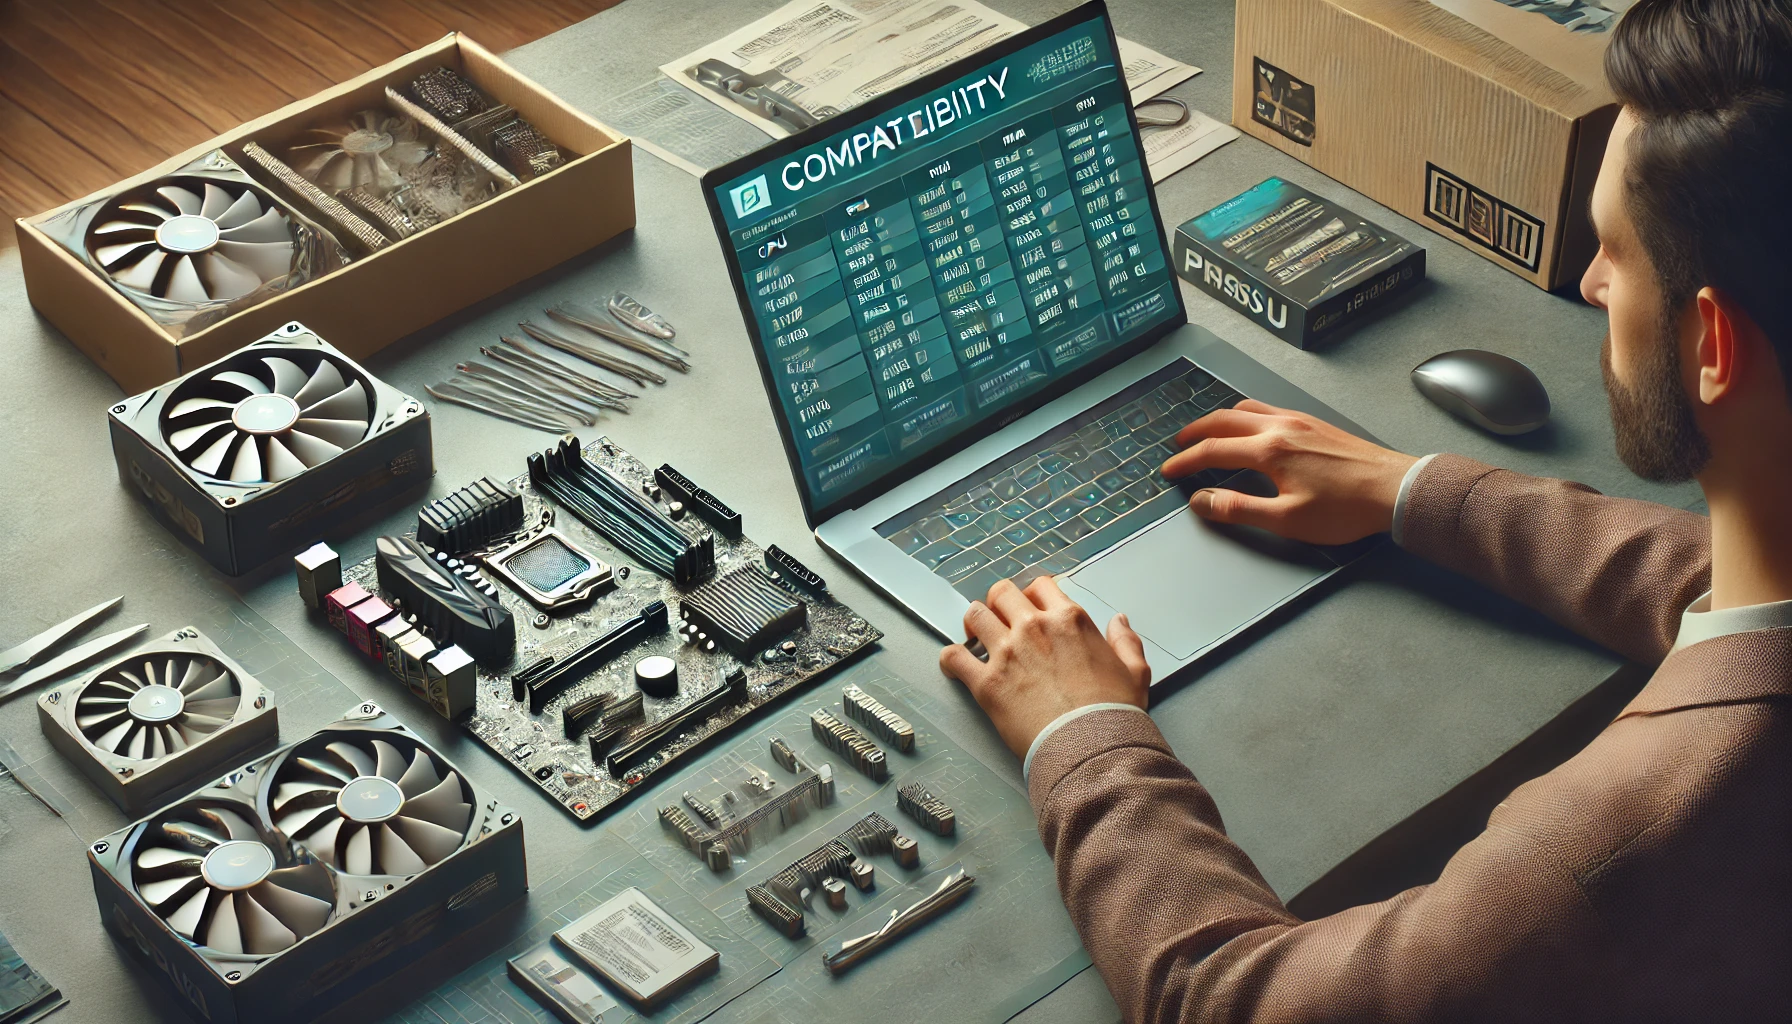
Building a PC requires careful selection of components to ensure they work together seamlessly. Incompatible parts can lead to performance issues, boot failures, or additional costs for replacements. Here’s how to test for compatibility when choosing PC components, ensuring a smooth and efficient build process.
Start with the CPU and motherboard, as these are the foundation of your build. CPUs are designed for specific socket types, such as Intel’s LGA1700 or AMD’s AM5. The motherboard must have the correct socket to accommodate the chosen CPU. Additionally, check the motherboard’s chipset compatibility, as some chipsets may not support newer CPUs without a BIOS update. Refer to the motherboard manufacturer’s CPU support list for confirmation.
Consider the RAM type and speed supported by the motherboard. Most modern motherboards are designed for DDR4 or DDR5 RAM, but they aren’t interchangeable. Ensure the RAM matches the motherboard’s supported type, speed, and maximum capacity. For example, a motherboard that supports 3200 MHz DDR4 RAM won’t fully utilize higher-speed modules without overclocking.
Next, verify the compatibility of the GPU with the motherboard and case. Most GPUs use PCIe slots, which are standard across motherboards. However, ensure the case has enough clearance to accommodate the GPU’s length and thickness. Check if the PSU provides the required PCIe power connectors, such as 6-pin or 8-pin, to support the GPU.
When selecting a power supply unit (PSU), calculate the total wattage required for your build. Tools like online PSU calculators can help estimate your power needs based on the CPU, GPU, and other components. Choose a PSU that exceeds the calculated wattage to provide a safety margin. Ensure the PSU has the necessary connectors for your components and fits within your case.
For storage drives, ensure your motherboard has the appropriate connectors. Most modern motherboards support SATA SSDs and HDDs, as well as M.2 SSDs for faster storage solutions. If you plan to use multiple drives, verify that the motherboard has enough SATA ports or M.2 slots to accommodate them.
Cooling solutions must also be compatible with your CPU and case. CPU coolers vary in size and mounting mechanisms, so check that the cooler supports your CPU socket type. Ensure the cooler fits within your case and doesn’t interfere with other components, such as RAM modules or the GPU.
Case compatibility involves more than just size. Verify that your case supports the form factor of your motherboard (ATX, micro-ATX, or mini-ITX) and has enough clearance for components like the GPU, PSU, and cooling system. Consider cases with good cable management options and airflow to improve thermal performance.
Finally, check the BIOS/UEFI compatibility of the motherboard if you’re using a newer CPU. Some motherboards may require a BIOS update to support the latest processors. Manufacturers often list this information on their product pages, and updates can usually be performed using a USB drive.
For an easier way to test compatibility, use online tools like PCPartPicker. These tools allow you to select components and automatically check for compatibility issues, such as mismatched sockets or insufficient power.
By testing for compatibility during the planning phase, you can avoid common pitfalls and build a system that performs reliably. Taking the time to ensure all components work together will save you time, money, and frustration during assembly.