
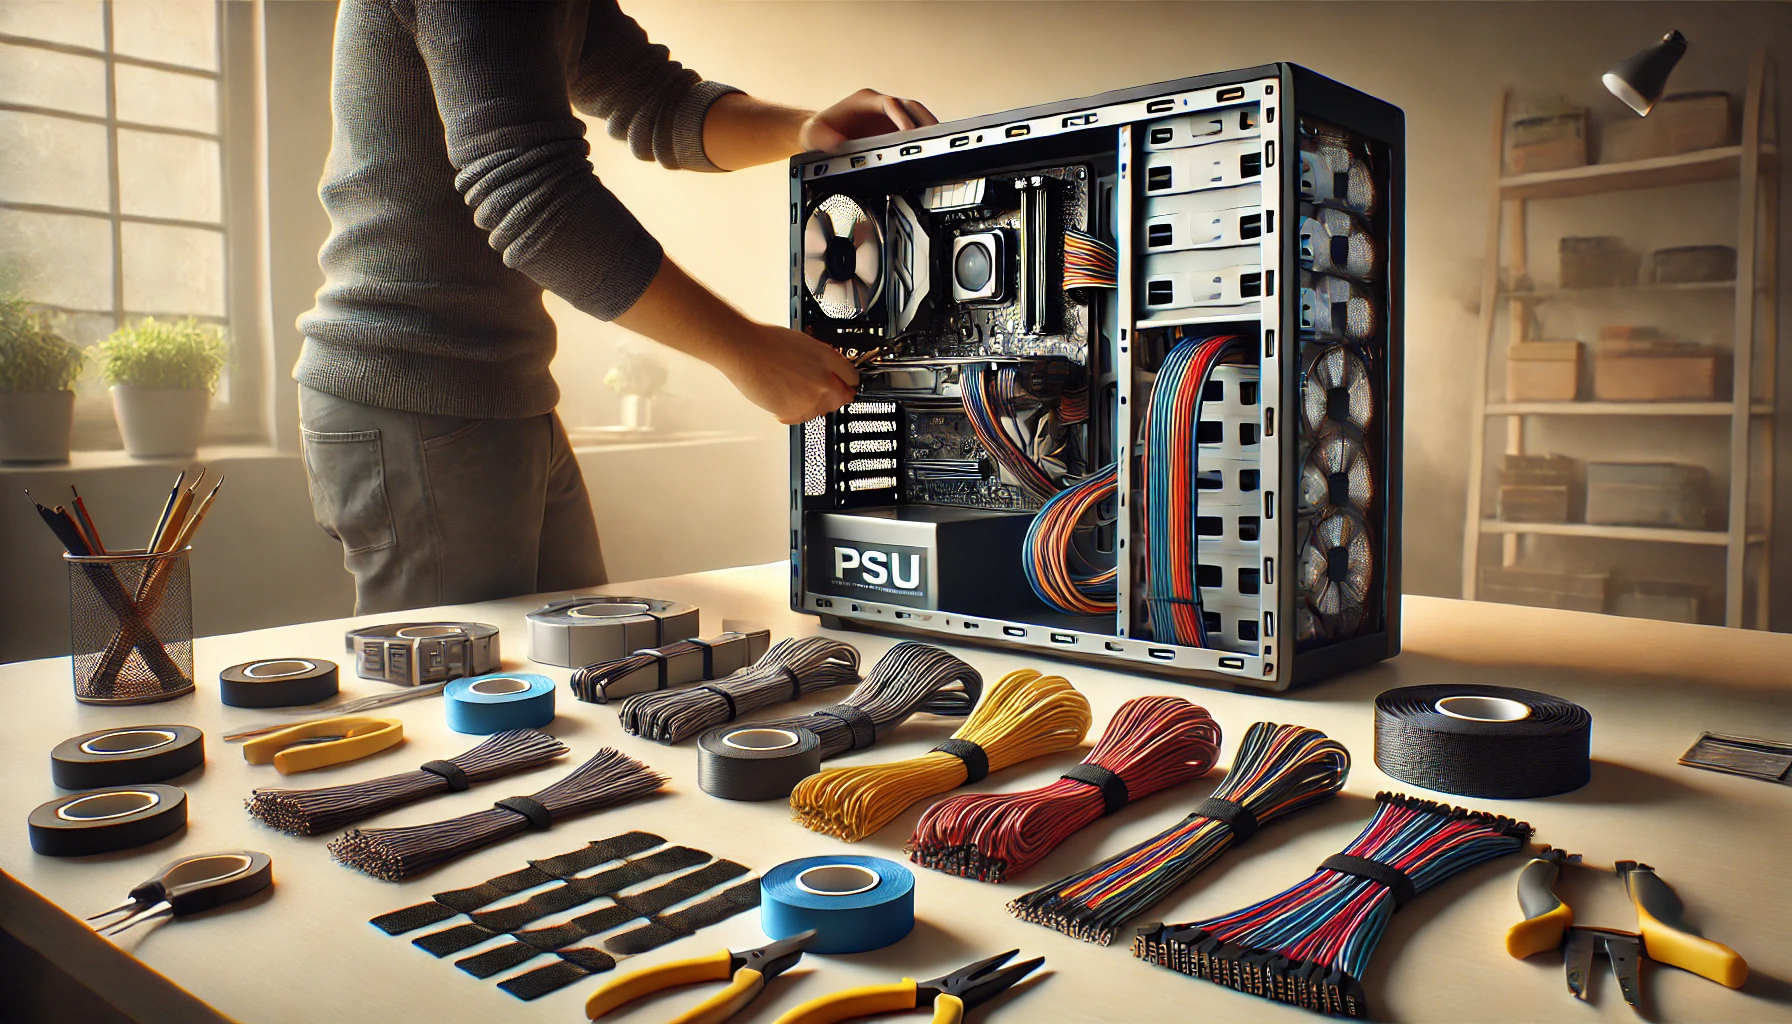
Proper cable management is crucial for creating a clean and efficient PC build. Organized cables not only improve the aesthetics of your system but also enhance airflow, making your PC run cooler and quieter. With the right techniques and tools, you can achieve a professional look and make future upgrades or troubleshooting much easier. Here’s how to organize cables effectively.
Start by planning your cable layout before installation. Take note of the cable routing holes and tie-down points in your PC case. Modern cases often have cutouts with rubber grommets to guide cables neatly and a dedicated space behind the motherboard tray for cable storage. Familiarize yourself with these features to map out the best paths for each cable.
Use the shortest possible path for each cable. This minimizes slack and reduces clutter. For example, route the CPU power cable through the nearest hole at the top of the case rather than running it across the motherboard. Similarly, use the bottom or rear cutouts for GPU and storage drive cables.
Group similar cables together for a cleaner look. Use cable ties, Velcro straps, or twist ties to bundle cables running along the same path. Secure these bundles to tie-down points or the case frame to keep them in place. Avoid over-tightening cable ties, as this can damage the cables or make future adjustments more difficult.
Tuck excess cable length into unused drive bays or the space behind the PSU shroud. This prevents loose cables from dangling inside the case, where they can obstruct airflow or get caught in fans. Modular PSUs are particularly helpful, as they allow you to connect only the cables you need, reducing excess clutter.
Position your PSU cables strategically. Connect the PSU to the motherboard, GPU, and storage drives first, then route the cables through the back panel. Use the cable routing holes to hide them as much as possible, keeping only the necessary connectors visible.
For fan and RGB cables, use the shortest and cleanest paths to the motherboard headers or fan controllers. Many cases include fan hubs that centralize connections, reducing the number of cables running across the motherboard. Secure these cables neatly along the edges of the case.
Labeling cables is a great practice, especially if your build has multiple storage drives, fans, or RGB connections. This makes it easier to identify specific cables during upgrades or troubleshooting, saving time and effort.
Use a combination of zip ties and cable combs for aesthetic builds. Cable combs keep individual cables, like those from a modular PSU, aligned and parallel, adding a polished look to your system. These are especially popular for custom builds with visible cable extensions.
Once all cables are routed and secured, replace the back panel carefully. Check that no cables are pinched or pressing against the panel. A properly closed back panel ensures that your cable management is both functional and visually appealing.
In conclusion, organizing cables is an essential step in building a clean and efficient PC. With thoughtful planning, the right tools, and attention to detail, you can create a system that not only performs well but also looks professional. Good cable management makes your PC easier to maintain, cooler, and a joy to showcase.